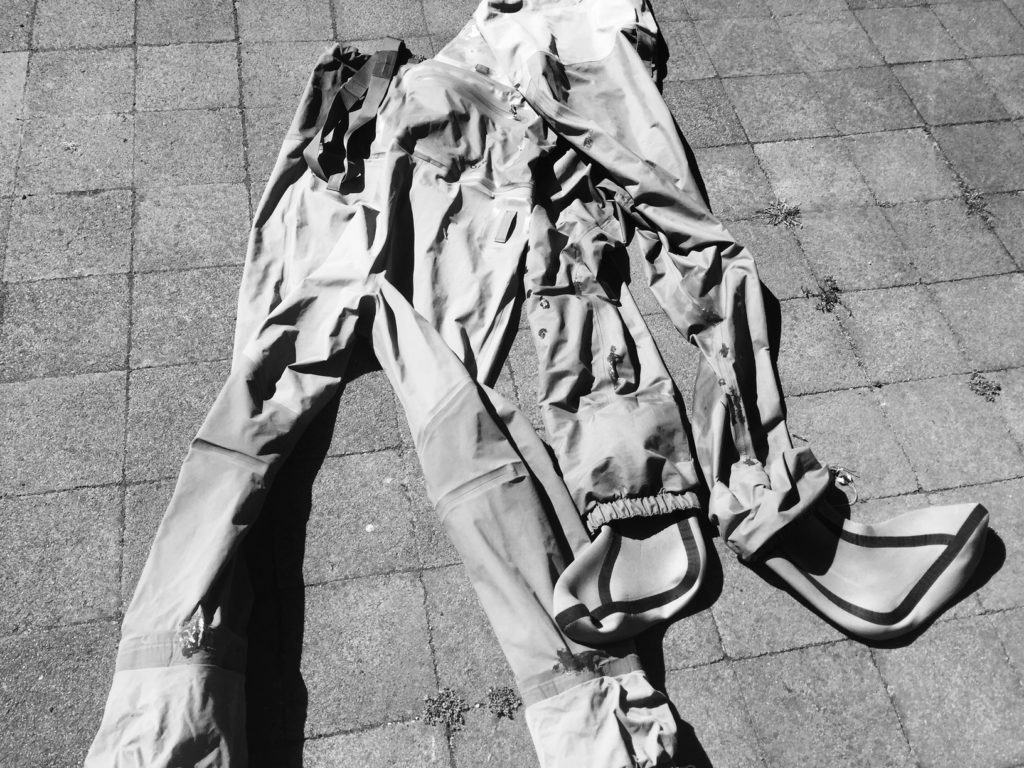
The summer break can be the ideal time to fix leaky waders, so here’s a few tips from our experience:
- Hang the waders up, inside out on the clothesline.
- Fill one leg with 5-10 litres of water
- Now pick up the leg of water, and place a hand either side of the area you want to test, with the water trapped between.
- Twist each hand like your wrapping a lolly, which will pressurise the water, pushing it through any leaks in the leg. These leaks (especially seam-leaks) won’t show unless you put them under pressure! Mark the leak(s) with a pen or texta.
- Once one leg is done, transfer the water to the other leg and test.
- We put all our fixes on the outside of the wader by preference: use Seamgrip for leaky seams, or in flexible areas such as the cuff above the gravel guard. UV Wader Repair is great for pinholes and small tears; it’s not meant to be a permanent fix, but it lasts us a season or so before we peal it off and put a new coat on. Even better, UV Wader Repair can be applied straight to wet waders!
- For large rips such as barbwire tears, put a backing behind the leak first. We use ‘Tenacious Tape’ patches, which are super-sticky, on everything from waders to rafts! On the outside of the wader/patch simply fill with Seamgrip or UV Wader Repair.
Seamseal, UV Aquaseal / wader repair and Tenacious Tape are all available from Aspire Adventure Equipment in York Street Launceston,
We own most brand of waders in our guiding set-up. From Simms to Patagonia to Orvis, they all have their issues from time to time, but simple maintenance will keep them going through plenty of hard use.
how to fix leaky waders
Posted in News